This one brings it all together: my skating and my crafting finally find some common ground in this one. One of my best friends, Kelsey, is someone I met on the ice. Though she was, like, seven levels higher than me, she later ended up going to high school with me. From then on, she's been a rock; one of those things that is just for certain in my life: there will be death, taxes, and I will be texting Kelsey Veloso through it all.
One of the things we have in common is a love for all things Disney, and a love for this little man named Jayden (her son- that's still crazy to me to be able to say). So naturally when she said that his first birthday party was going to be Mickey-themed, I couldn't get started fast enough.
Now before I began there was one big question to consider:
"which Mickey?"
It may sound like a funny question to some, but for those who have grown up with Disney, you're aware that there have been countless versions of our favorite mouse- from the black-and-white "Steamboat Mickey" to the "Mickey's Playhouse" animated version and beyond, choosing the Mickey I wanted wasn't going to be difficult. Lucky for me, Kelsey and Ricky (her fiance-aaaaaa!) were on the same boat that I was: definitely not the 90th anniversary Mickey that came out this year to haunt all of our dreams and destroy every Disney kid's childhood.
Instead I chose to narrow it down to two: the 90s' 1-dimensional red, black, yellow, and white version, and the traditional comic version. I wanted the class, but also the pops of color that come with newer versions. My goal was simple: to throw a Mickey-themed party that would be great for the kids but stun any adult, too. And since Mickey is such a popular theme, there was a wealth of inspiration to pull from.
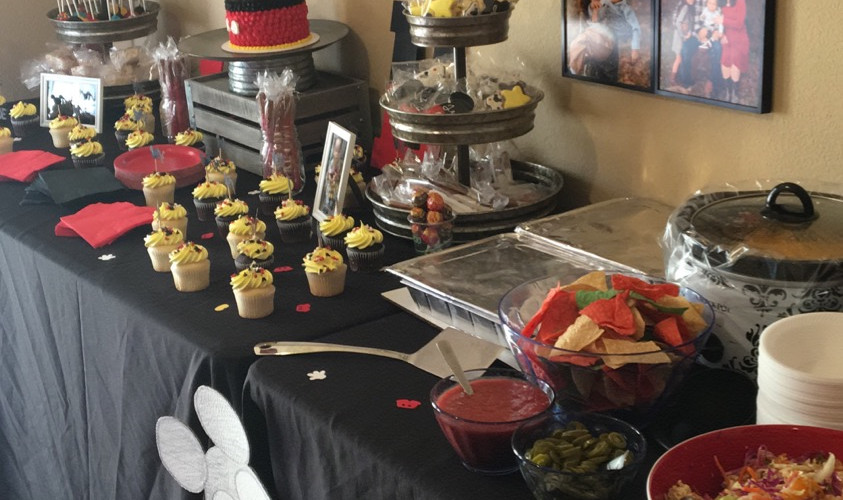
So, here's what I put together: (and details below)
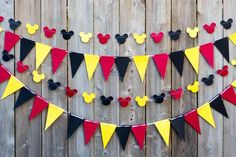
The Non-DIY Die-Cut(e) Etsy Garland
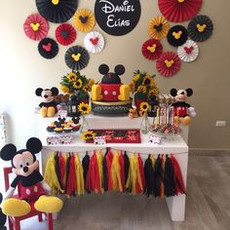
I have no idea why, but the very first thing that pops into my head when I start thinking about designing a party is what darling garlands I'm going to hang up first. I've come across this garland before on Pinterest and Etsy time and time again, and as soon as I heard we were doing Mickey, it was the first thing I knew I needed- but unfortunately, this one goes way over even my head. So, I bought the real deal off of the amazing seller on Etsy. It was WAY too cute to not share- excuse the blurry picture.
The inspiration:

The real deal:

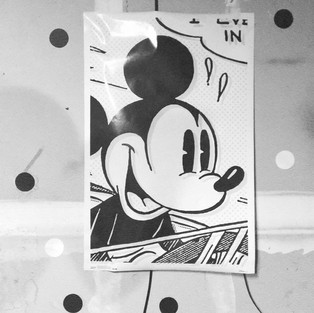
Vintage Mickey Cutout
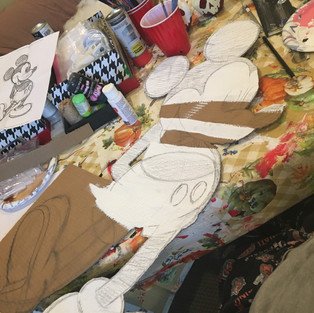
Alright... I know I'm capable of some cool stuff. But I was not expecting this. I thought that having a cardboard cutout of everyone's favorite mouse would be a cute touch. Honestly, when I started out, I just kept thinking "at least cardboard is cheap so I can do it over again when I mess up". But, get this. With a printed picture and pencil, I drew this baby out freehand. I remember sitting there looking at it going "where do I even start?" Then once I got to painting it, I had that conundrum x10. So, as you can see below, I painted strip by strip so that I could keep the sketch going fluidly and not have to do it again.
If I had to re-do it, I'd do a few things differently. I'd have used a cardboard that was white already so that I wouldn't have to paint it, and it therefore wouldn't curl as papers have a tendency to do when painted. I also would've used a different medium for the sketching over the white. Sharpie wouldn't work because the cardboard wasn't 1000% flat. But black colored pencil just wasn't a very big pop.
The inspiration:
The real deal:
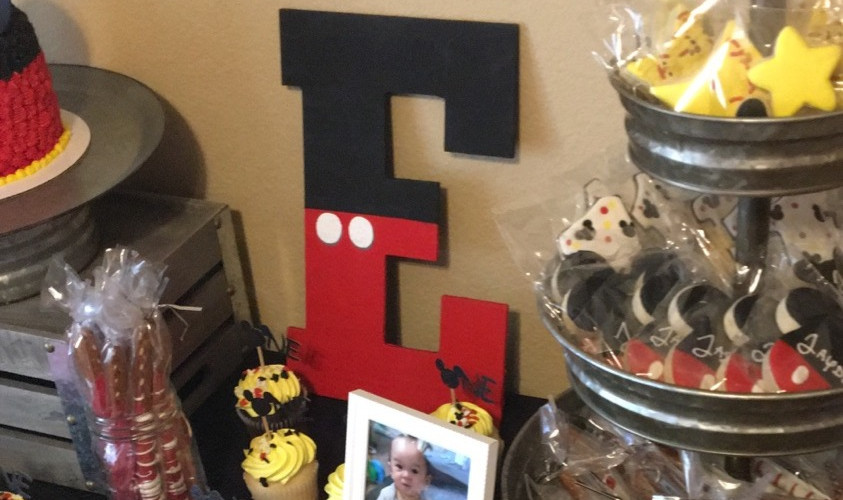
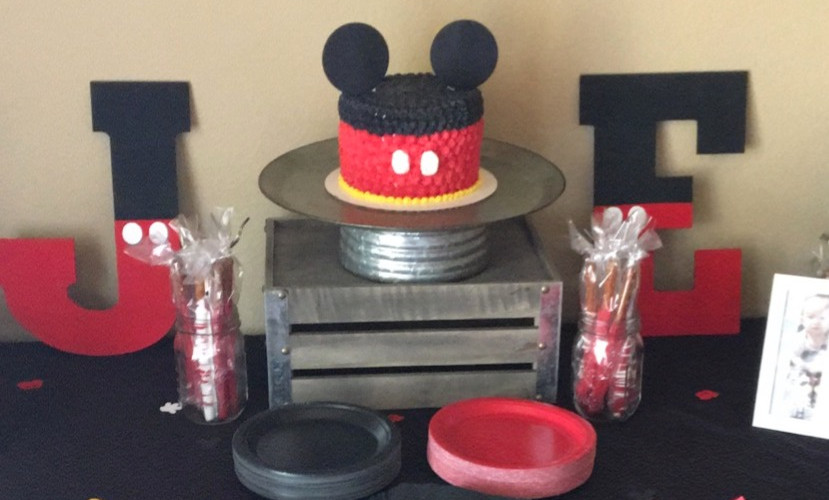
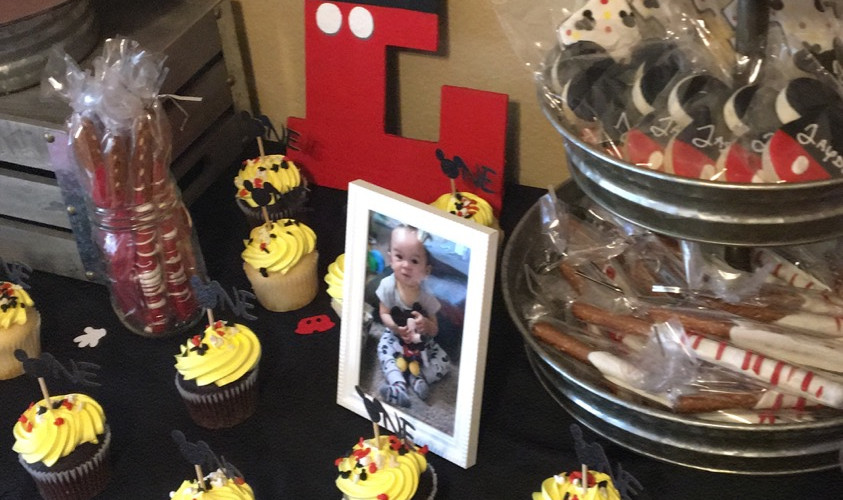
J & E Mickey Letters
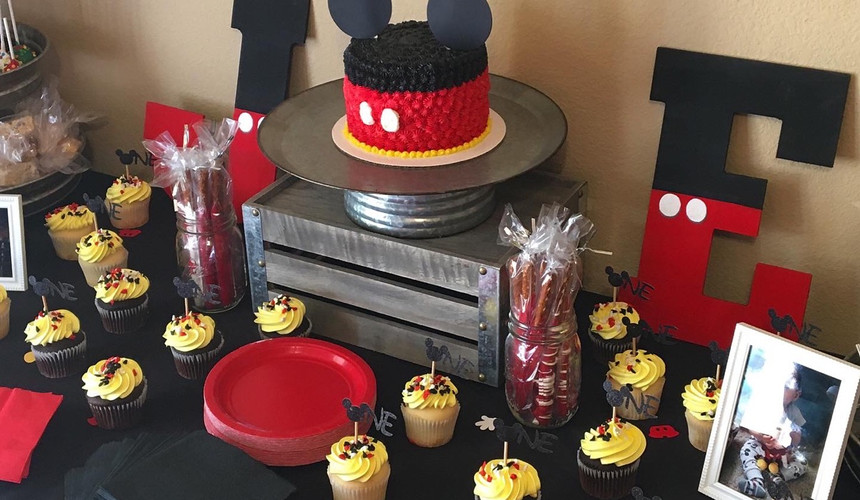
I'm a big fan of having a name as the center of attention- whether it be with initials, a banner, boxes, you name it: I like to keep the focus of the party on the person we're celebrating. Plus, these make for cute props for photo shoots and home decor pieces later. So it took a few coats and some little fine tuning clean ups (those buttons can be a pain)! If you follow me on Instagram then you got to see the whole process (so satisfying). If you want a DIY, let me know and I'll lay out all of the steps. I decided that since we weren't throwing in too much yellow, I wanted to focus on classic Mickey- red and black.
The inspiration:

The real deal:
Fluffy Garland
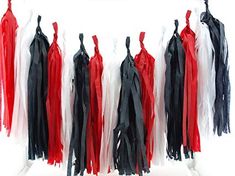
I'm not sure if this counts as a DIY or not- but you know what? People need to know. When you order one of those fluffy garlands off of Amazon, it does not come pre-arranged. Sure, I read that before I bought it, but I had no idea how much would be required. First of all, if you order one of these, you need to have on-hand a set of twist-ties that match your decor or the garland itself. I have no idea why someone would put gold twist-ties with a black and white and red garland instead of, say, black or white or red? But so be it. Monica's massive trick for success: if you don't tie the fluffs (we're going with that vocab for now) onto the string, and instead try to space them out individually after you hang the thing, you're missing out. Instead, just tie a little loop to keep your fluff where you want it. Forgive the horrible lighting in my picture.
The inspiration:
The real deal:

DIY Pennant Garland
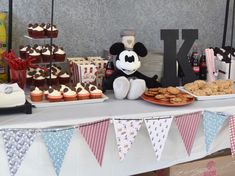
You would be shocked at how difficult it is to cut the perfect triangles. Ultimately, I had to resort to printing out a template to make my life easier. These garlands were so easy, so perfect, and added such a fun touch. I loved the Pinterest ideas I saw, and decided to try to copy the red and white stripes and the vintage Mickey print as closely as I could, while using our own color scheme to tie everything together. You also wouldn't believe how difficult it was to find that vintage Mickey paper. But the hard work all paid off.
The inspiration:
The real deal:

Polka Dots
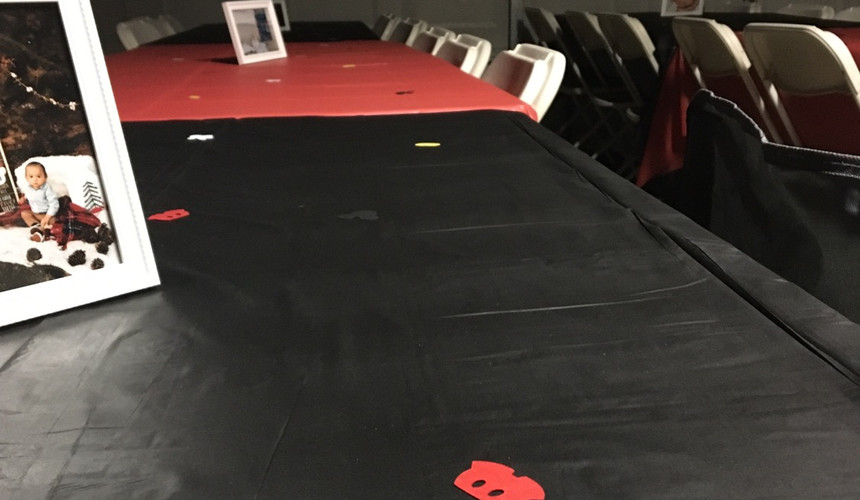
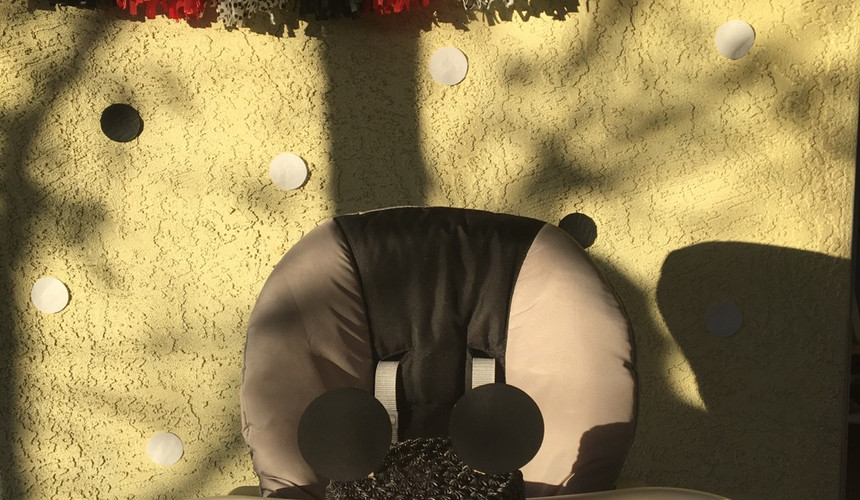
I'm not even sure that this one is worth mentioning, but since it took a long time, I figured I'd throw it in here. To tie in the black and white Mickey with the modern day, I used the rim of a plastic cup to create paper polka dots in black and white. I couldn't decide whether to make them into a hanging garland or not, but when I found out that we'd be using the garage as an option for extra seating, I decided to try to dress up the space a bit by placing the dots all over the back side of the garage door and on the wall that was hideous. With the leftover dots, I was able to add some extra flare to Jayden's cake smash area, too!
The inspiration:

The real deal:
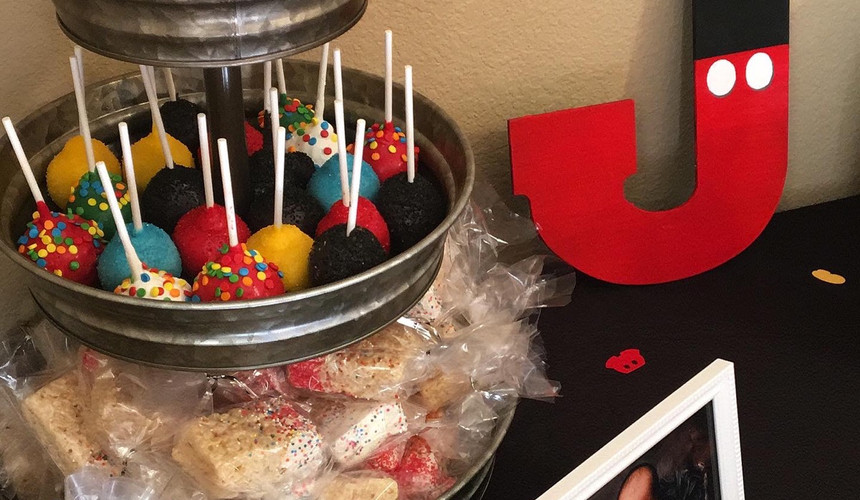
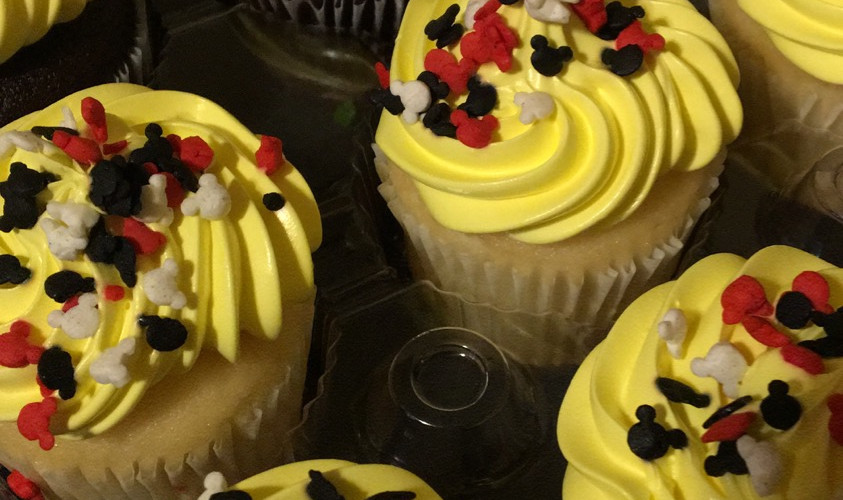
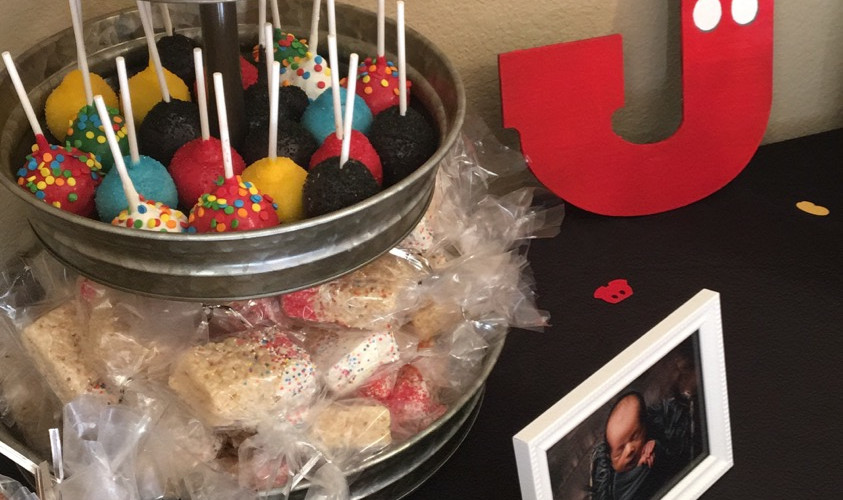
Kelsey added so many cute touches that I can't even take credit for- she got the adorable cookies, put together the gift bags, made the pretzel sticks, got a banner for one of the doorways, and ordered Jayden's smash cake, which was absolutely adorable. It was completely unforgettable, and I can't wait to see what we do next!
As always, if any of these projects are something you'd be interested in recreating (or if you're just interested in seeing details of how I did it) let me know by shooting me an email at monicaemontanari@gmail.com.























































Comments